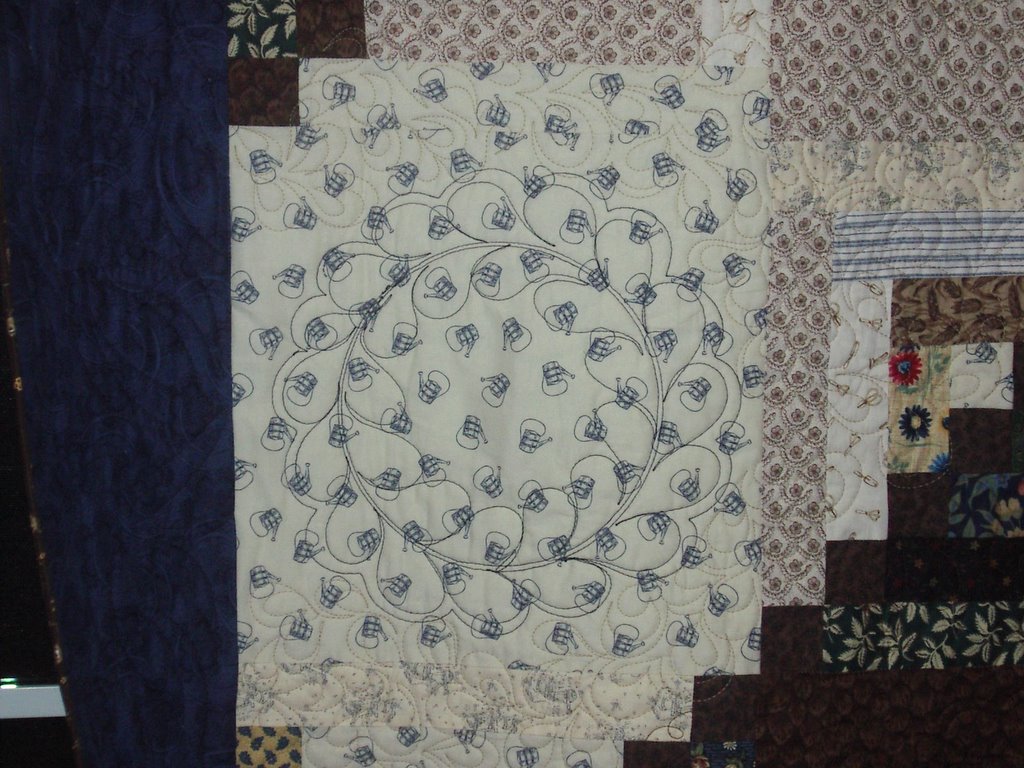
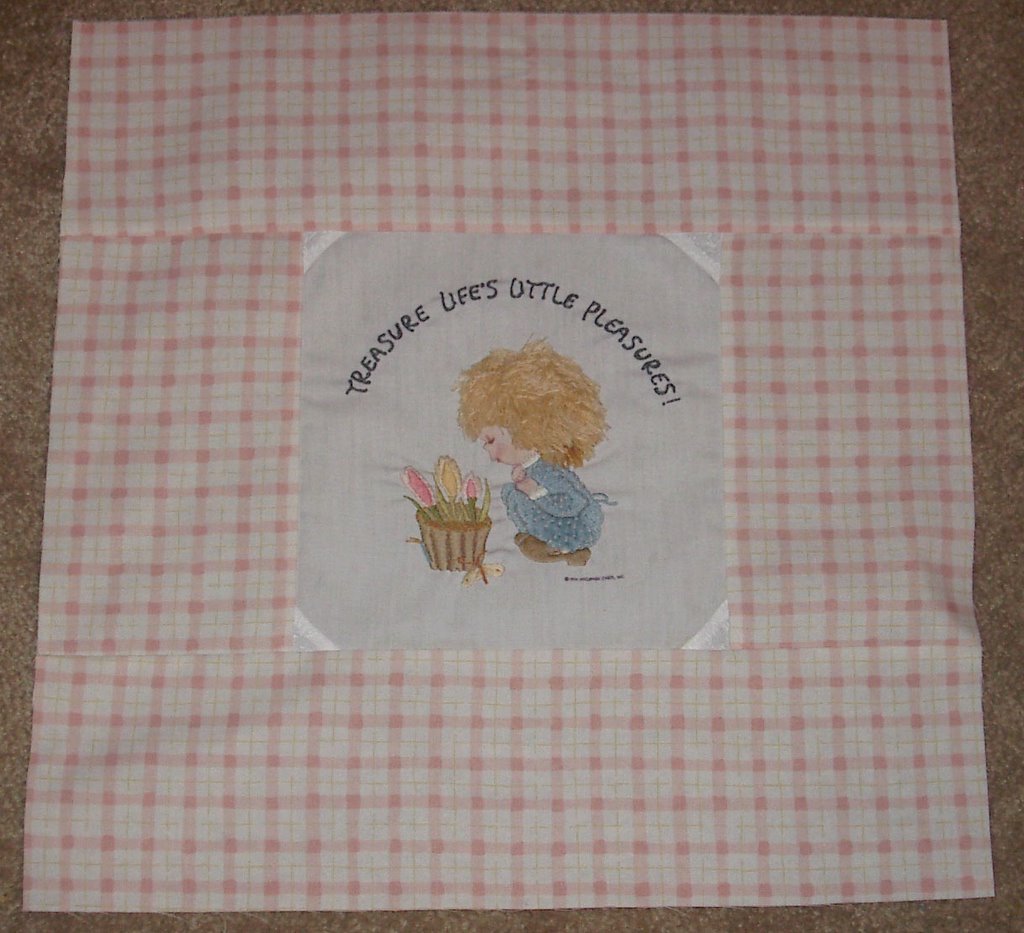
Step 1: Take the needlepoint out of the hoop (see yesterday's photo). Notice that needlepoint fabric is too small to be the front of the pillow. Lisa had provided a 12 inch pillow form. The fabric was about 7 inches at its widest point.
Step 2: Make several frantic phone calls to Nina (at work!) and my mom. Needed ideas on how to expand the front to cover the front of the pillow. Got suggestions ranging from applique it on a bigger circle (Yeah, right!) , add strips around the outside (this is what I did)or to do 4 pieces like Drunkard's Path blocks around the outside to make it bigger.
Here is what I ended up with -
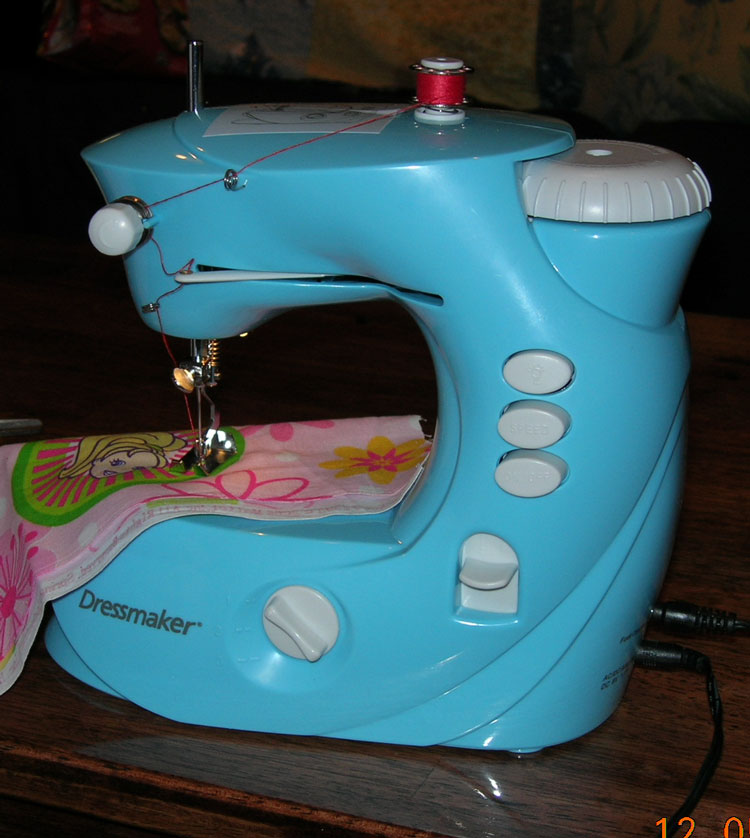
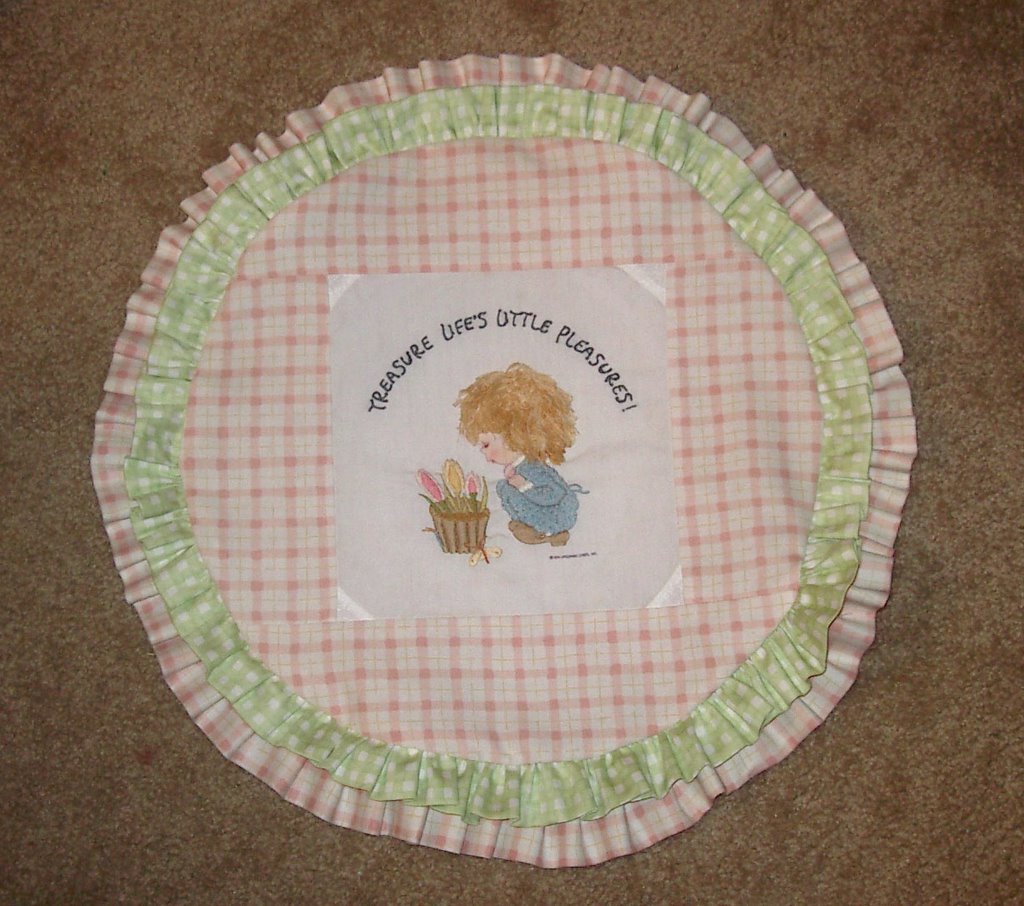
 Step 3: Make 2 (yes, 2) ruffles - each about 100 inches long to start with. Here I am sewing down the green accent ruffle.
 Doesn't look too bad , does it?
 Step 4: When trying to make the ruffle out of the pink plaid fabric, decide that it is too thick. Now you get to put in little quarter inch pleats all the way around.
 Step 5 - After sewing the pleated ruffle to the back circle, sew the front to the back. Yes you will be sewing through 6 layers of fabric. Can your machine handle it? Look pleased with your self when you turn it right side out and it looks cute!
 Step 6 - Put the provided pillow form through the opening into the pillowcase. Please remember to have left an opening! Shockingly, I did remember!
Step 7 - Be even more shocked when your carefully pieced pillow case is too big, instead of too small like you were expecting! Now what do you do?
 Step 8 - Get in your car and drive to Walmart only to discover that they do not carry pillow round forms. Get back in your car and drive to the sewing center, where they cheerfully exchange your wrong sized pillow form for a slightly too big pillow form. Wrestle to get the pillow form in to the pillowcase.
Step 9 - Go home. Sew up the opening by hand.
Step 10 - Take a nap.